This winter has got everyone in my house sick, sometimes all you need is something nourishing and simple to help nourish your body until you’re feeling better. 🤒
This simple soup will have you feeling better in no time!
Instructions Warm oil in pot. Sautéed onions, celery, carrots, garlic, shallots and scallions until onions are clear. Add stock and water with dried herbs. Bring to a boil. Once boiling decrease temperature to a simmer and allow to simmer for 30 minutes. Then serve.
This recipe is flavorful but gentle on the stomach. Feel better!❤️🩹
Tag @food_figured on instagram if you try this recipe!
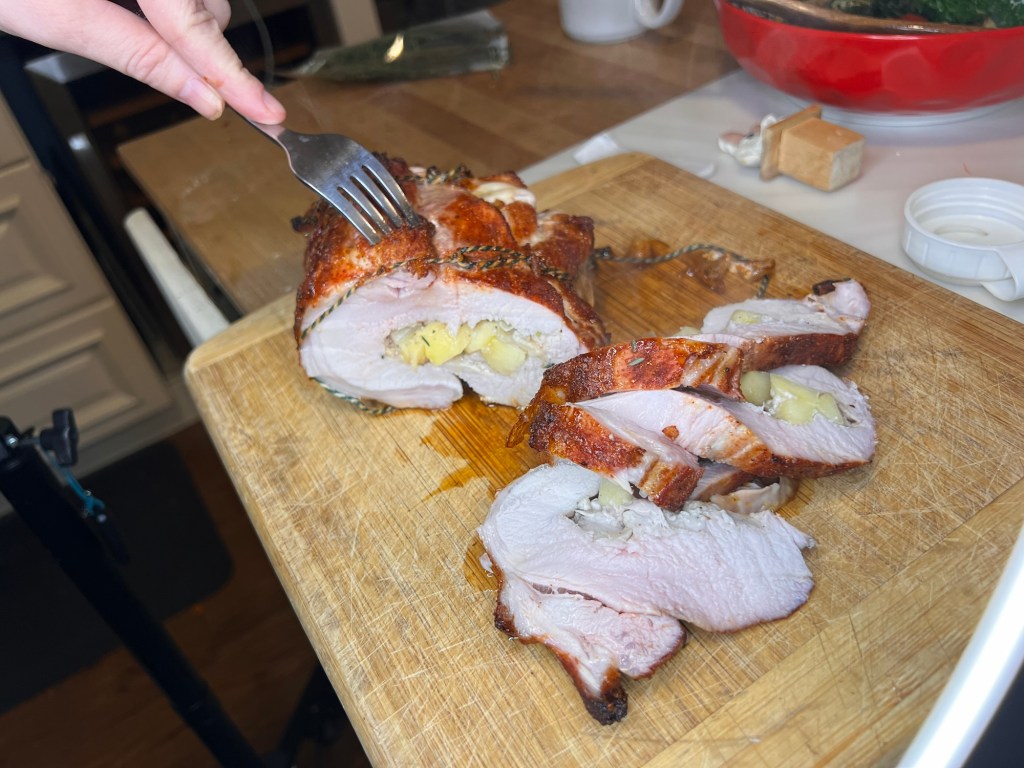
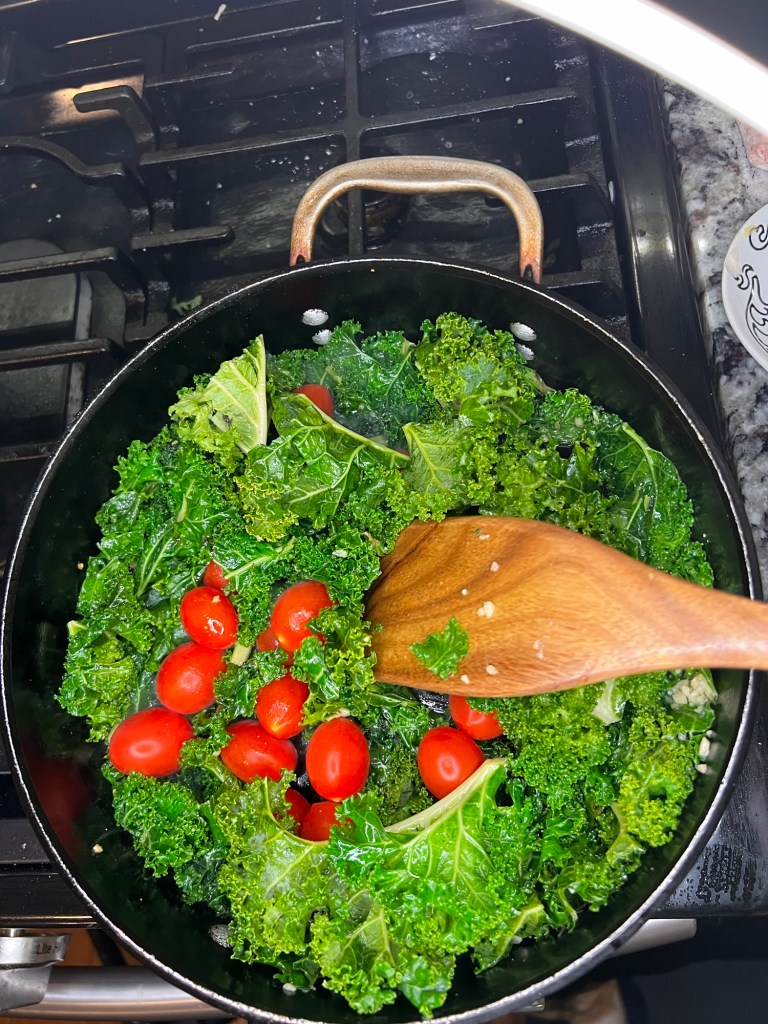
Indulge in cozy winter warmth with my new favorite dish featuring tender bourbon-infused apple stuffed pork tenderloin, perfectly paired with vibrant Winter Goddess Kale salad. Slow-roasted pork tenderloin wrapped in caramelized apples and bourbon goodness meets fresh wilted kale tangled with tangy Greek vinaigrette and nutty Parmesan cheese – ultimate comfort food for snowy nights. You’re going to be so happy that this is on the menu after a long day of sledding and skiing!
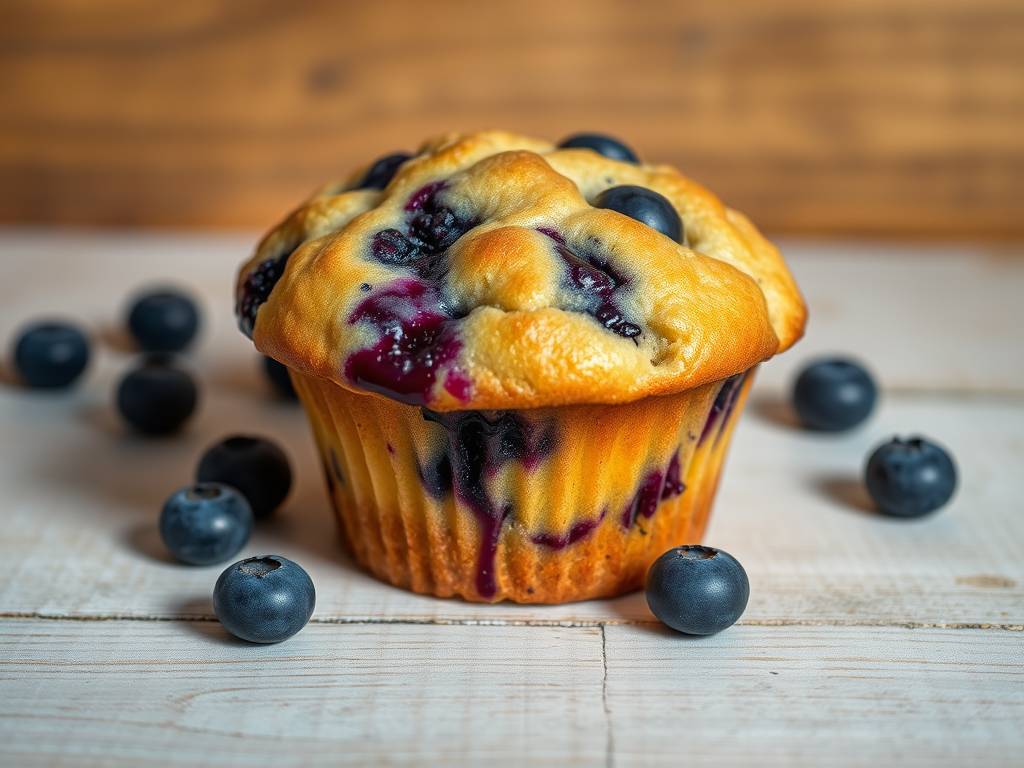
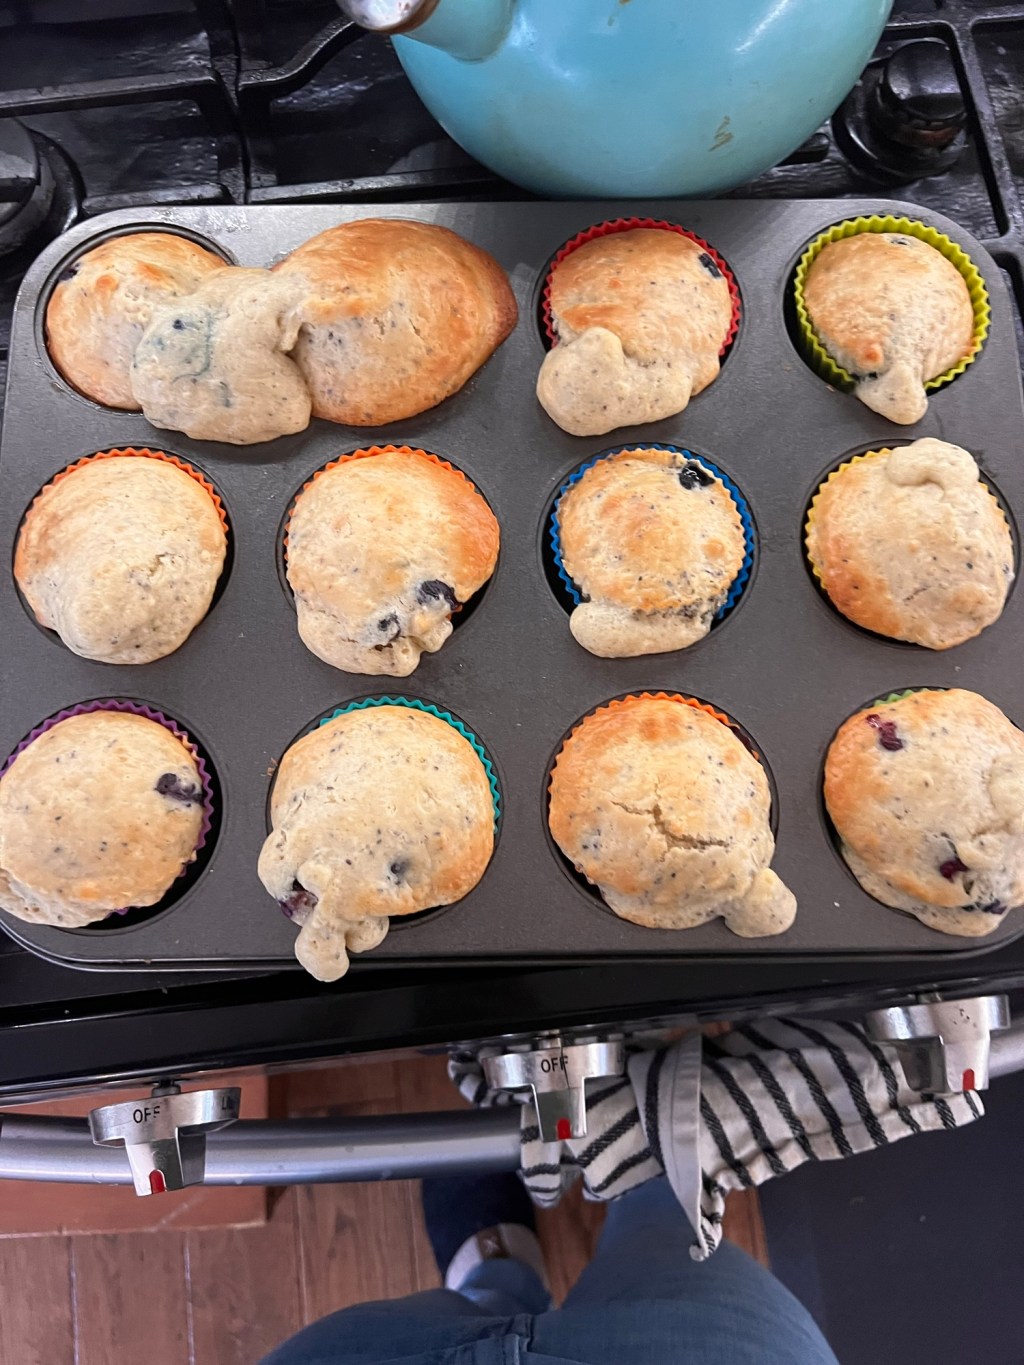
I am deep in the heart of wrestling season with my kids right now, and it’s important to make every calorie count! These protein sourdough blueberry muffins are a delightful blend of flavors and textures. They satisfy cravings and give an energy boost to any athlete. These muffins are perfect for a quick breakfast. They are also great for a snack on the go. They incorporate the goodness of sourdough. Plus, they provide the health benefits of protein. They kid approved and have made anyone break weight yet!
Ingredients
1 cup sourdough starter (active and fed)
3/4 cup all purpose flour
1/2 almond flour
1 scoop (30 g) protein powder (vanilla or unflavored)
1/4 cup almond milk (or any milk of your choice)
1/4 cup sugar
2 eggs
1/4 cup melted coconut oil (or butter)
1 teaspoon baking soda
1/2 teaspoon salt
1 teaspoon vanilla extract
1 cup fresh or frozen blueberries
2 Tbsp Chia Seeds
Optional: 1/2 teaspoon cinnamon for extra flavor
Instructions
Step 1: Preheat the Oven
Preheat your oven to 350°F (175°C). Line a muffin tin with paper liners or grease it with cooking spray.
Step 2: Mix the Dry Ingredients
In a large mixing bowl, combine the whole wheat flour, protein powder, baking soda, salt, and cinnamon (if using). Whisk to ensure there are no lumps.
Step 3: Combine the Wet Ingredients
In another bowl, mix the sourdough starter, almond milk, sugar, eggs, melted coconut oil, and vanilla extract until well combined.
Step 4: Combine Wet and Dry Ingredients
Pour the wet mixture into the dry ingredients and stir gently until just combined. Be careful not to overmix; it’s okay if there are a few lumps.
Step 5: Fold in the Blueberries
Gently fold the blueberries and chia into the batter, taking care not to break them up too much.
Step 6: Fill the Muffin Tin
Scoop the batter into the prepared muffin tin, filling each cup about 2/3 full to allow for rising.
Step 7: Bake
Bake in the preheated oven for 18-20 minutes or until a toothpick inserted in the center comes out clean. The muffins should be golden brown on top.
Step 8: Cool and Enjoy
Take the muffins out of the oven. Let them cool in the tin for about 5 minutes. Then transfer them to a wire rack. Enjoy them warm, or store them in an airtight container for later.
Tips
For an extra crunch, consider adding nuts or seeds to the batter.
These muffins freeze well, so feel free to make a larger batch for on-the-go breakfasts throughout the week.
Experiment with different fruits, such as raspberries or strawberries, to switch up the flavors.
These protein sourdough blueberry muffins are not only filling but also packed with nutrients. They’re a fantastic way to enjoy a classic treat while staying healthy and energized! Happy baking!
If you enjoyed this recipe make sure to follow for me!
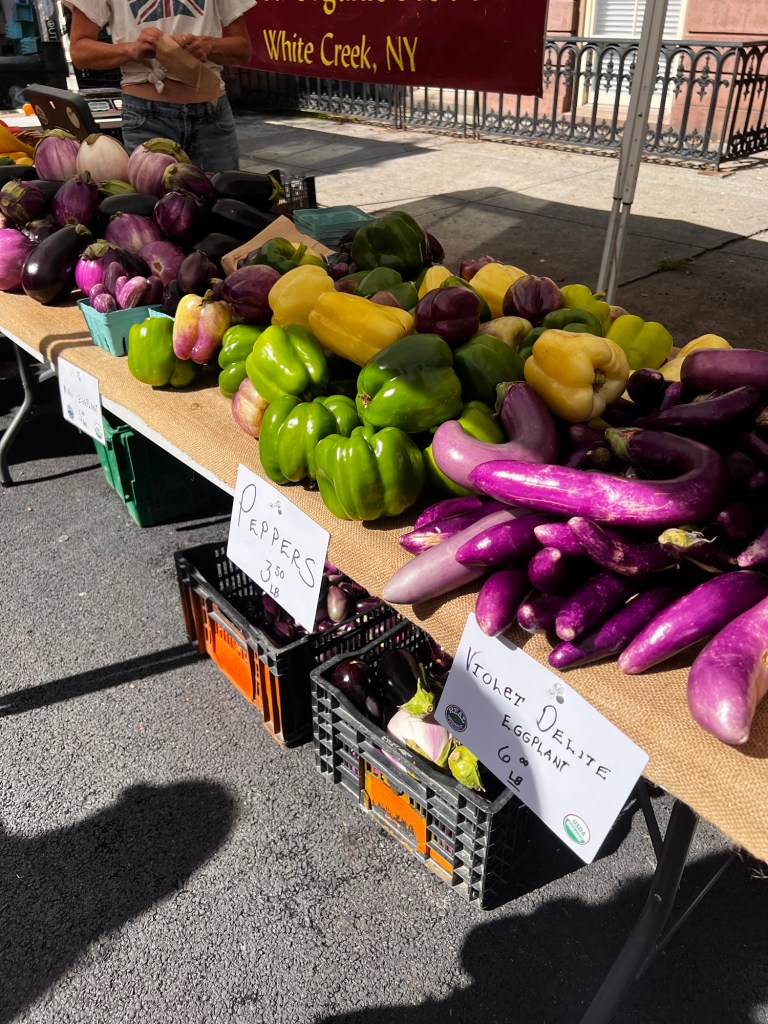
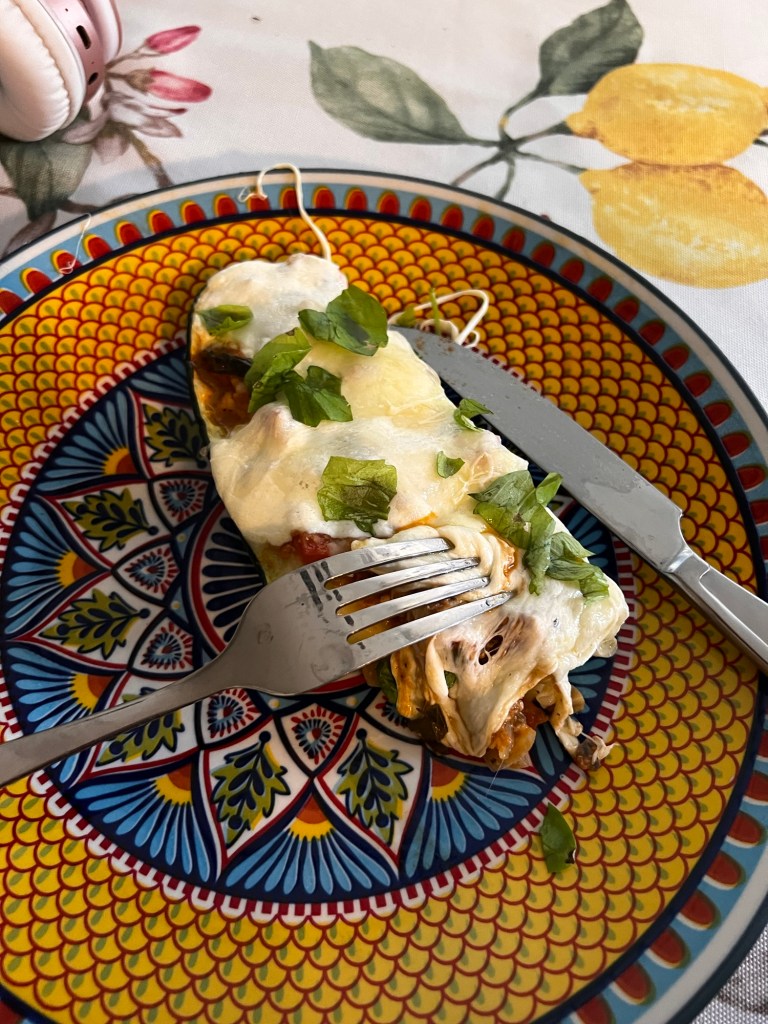
It’s summer and I know people are looking what to do with all those zucchini’s popping up in the garden! Here’s a delicious carefree recipe that has served our family well during the week and kept up with our garden supply.
Such a health, easy way to stay with your diet goals and indulge in something delicious!
Troy Farmers Market
Recipe
Ingredients
3-4 medium zucchini -1 pound ground chicken -3 teaspoons minced garlic -1 red bell pepper, diced
4 ounces mushrooms, diced -1 cup marinara sauce – I used a garlic and basil marinara -1 teaspoon dried herb Italian seasoning -1 cup shredded part skim mozzarella cheese -1/2cup freshly chopped basil -1 tablespoon olive oil
Instructions -Preheat oven to 400 degrees. Cut zucchini in half lengthwise. Use a tablespoon to scoop out seedy center and discard. Arrange side by side, cut side up, on a baking sheet or in a casserole dish. -cover zucchini with light dressing of olive oil and salt and pepper. Bake for 15 minutes
-in a large skillet over medium-high heat, brown chicken for 4 to 5, using a spatula to break into small pieces as it cooks. -Add bell peppers, onions and mushrooms and saute 2-4 minutes until tender.
stir in in garlic, marinara sauce, and Italian seasoning. Spoon mixture into the zucchini boats and cover with fresh mozzarella. -Bake for 20 minutes or until cheese begins to bubble Serve immediately
Never Enough Cheese!
I hope you enjoy this! Make sure to tag me on instagram if you make this yummy dish!
By trying to work more meatless meals into my diet I’ve started using more mushrooms in my diet so that I can still fulfill that savory craving…🍄 but avoid those sine of the cholesterol with always eating red meat.
I love how garden fresh this tastes!
Recipe
Ingredients
two large portabello mushrooms (stems and gills removed)
1/3 cup herbed goat cheese
two tablespoons pesto
1/3 cup arugula -6to 8 cherry tomatoes halved -salt and pepper (will be to taste)
Instructions
preheat grill on medium, place mushroom cap down and cook for 3 to 5 minutes (or until mostly dehydrated)
flip over, add salt and pepper to tasted and fill evenly each cap with goat cheese, cook for another 2 to 3 minutes or until goat cheese is cooked through.
Remove from grill and drizzle with pesto. Top with arugula and tomatoes. Sprinkle with salt and pepper once more.
serve right away
Save and Enjoy!
Let me know if you use this by tagging me in instagram @food_figured
Did you know you can make your own garlic infused oil!
Not only is it packed with health benefits and delicious but IT’S SO EASY TO MAKE!!
Did you know you can make your own garlic infused oil!
Not only is it packed with health benefits and delicious but IT’S SO EASY TO MAKE!!
Look at all the benefits! 🚨
Antifungal properties for fighting skin issues Vitamins and minerals that help control acne
Anti-inflammatory properties help reduce inflammation on the skin and in the body
Minerals and vitamins that help promote scalp health
Compounds that help reduce toothache, bacterial infection, and control tooth decay
Organic chemical compounds lower blood pressure and relax heart muscles
Natural properties that help prevent the common cold
Make some this flu season!
I love to add mine to a nice prosciutto sandwich!
Recipe
Ingredients Garlic Oil
1/4 cup olive oil
1 large garlic clove, very thinly sliced
Directions
Heat olive oil in a small saucepan over medium-high. Add the garlic slices and cook until sizzling, 30 to 40 seconds. As soon as you see any sign of browning, remove from heat immediately, as the garlic will continue to cook and turn completely golden in the hot oil.
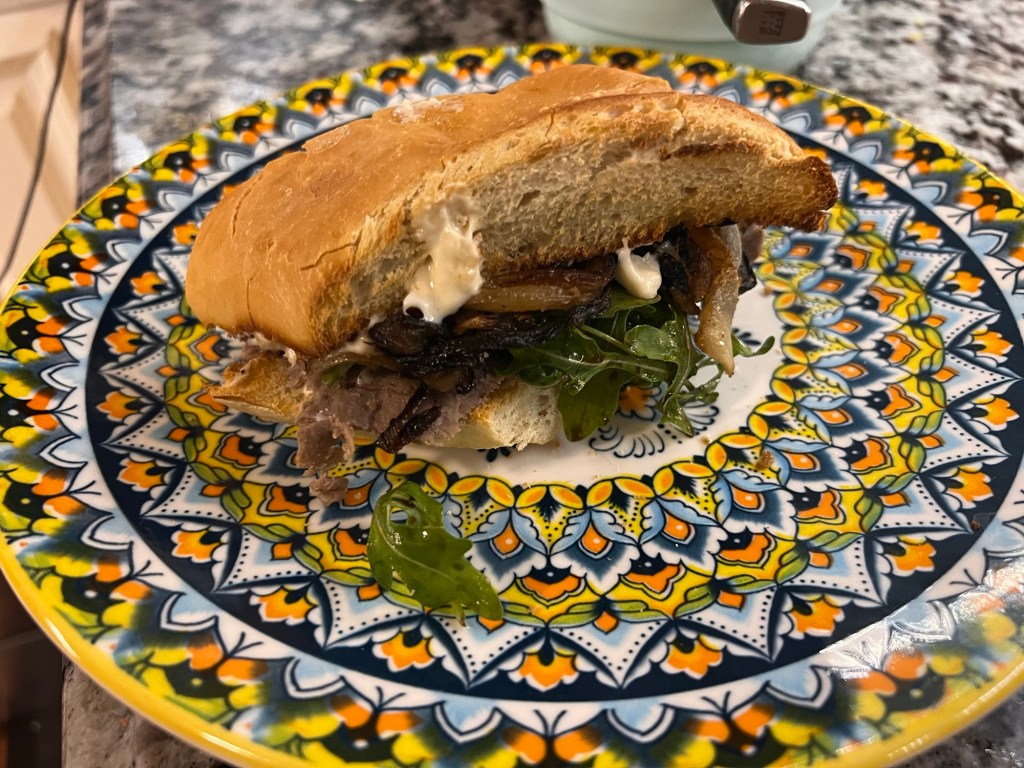
Left over prime rib= Best sandwich of the New Year!
Best left over sandwich
Hello 2025!
What truly makes this sandwich special isn’t the balsamic dressing on the arugula, or the caramelized onions or even the absolutely delicious bread (even though they each had their role)…
it’s the delicious roasted garlic and horseradish mayonnaise that adds that something special and keeps you coming back for more.
Instructions To make spread, combine 2 tbsp mayonnaise and 1 tsp creamy horseradish. Pulverize and mix with the horseradish mayo so that it mixes evenly and add to what ever your imagination comes up with
Notes
To roast garlic- cut off top and add 2 tablespoons olive oil and bake at 400 Fahrenheit for 45 minutes or until golden brown
-arugula in sandwich is salt and peppered and dressed with remaining oil from roasted garlic and splash of balsamic dressing
▢ 1/2 cup sourdough starter discard, 142 grams ▢ 1 large egg ▢ 1 teaspoon vanilla extract, 5 grams ▢ 3 tablespoons heavy cream, 45 grams (milk can be substituted)
Instructions In a large bowl, combine flour, sugar, baking powder and salt.
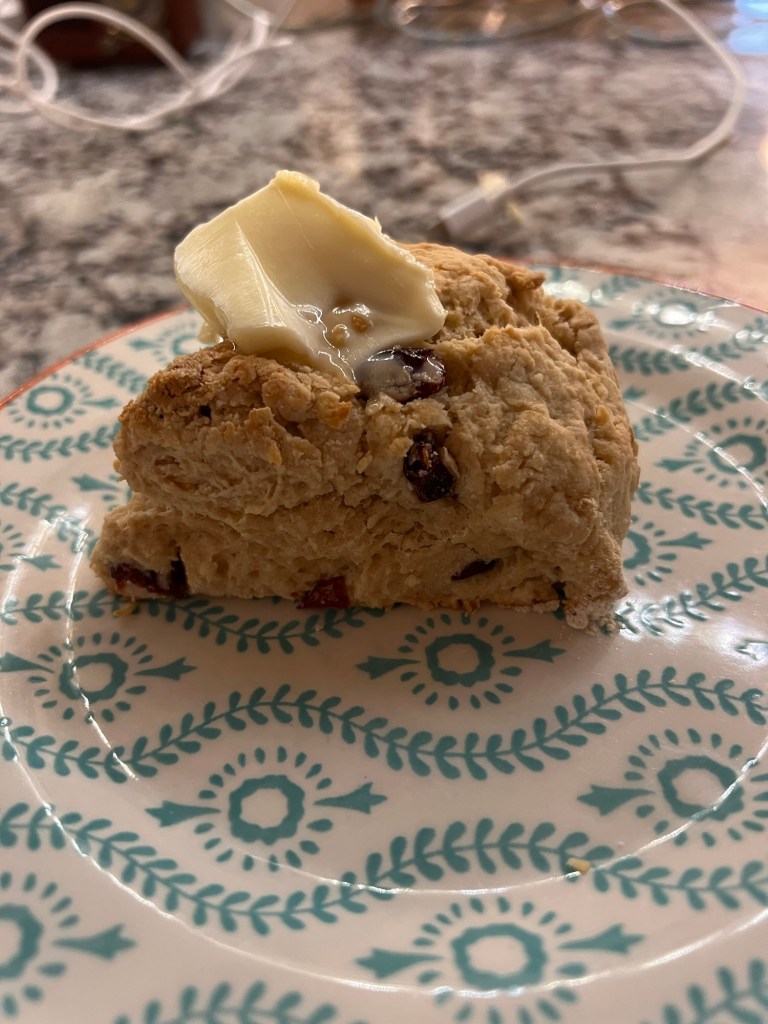
Grate frozen butter into the dry ingredients with a cheese grater and cut in with a pastry cutter. (You can also use your hands or a food processor).
Add in the mix-ins and coat with flour. Set the bowl aside.
In a separate bowl, combine the wet ingredients. Fold the wet ingredients into the flour mixture. Be careful not to overwork the dough.
On a clean, lightly floured surface, roll the dough out into a circle about 8” in diameter. Cut the circle into 6 equal parts.
Place on a prepared baking sheet lined with parchment paper about 2” apart.
Put in the fridge for 30 minutes up to 3 days for a longer fermentation. They will not ferment much at 30 minutes, but after 3 days the grains should be nicely fermented.
When ready to bake, preheat the oven to 400°. Brush the top of the scones with cream and sprinkle with sugar. Bake for 25 minutes and serve with butter,honey or jam!
If you use this recipe please let me know and tag me on instagram!
Anyone else hoping to bring in some extra good luck this year? Most years I end up spending my New Years Evening at the hospital, this means the party is a giant potluck filled with snacks, where you get what you can in between call bells and pages.
Traditionally in the south black eyed peas are thought to help bring in good luck for the new year, so of course I had to work them into night and spread good luck to everyone else on staff.
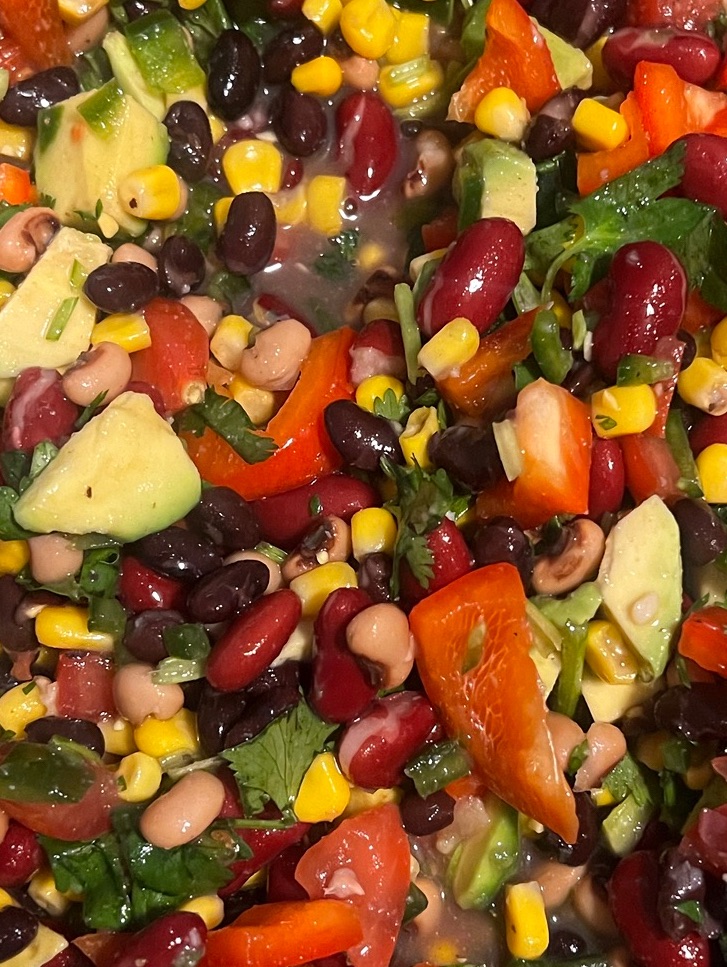
Cowboy Caviar
This delicious mixture of beans and vegetables can be served as a salad or with chips as a dip. It’s make a great healthy choice!
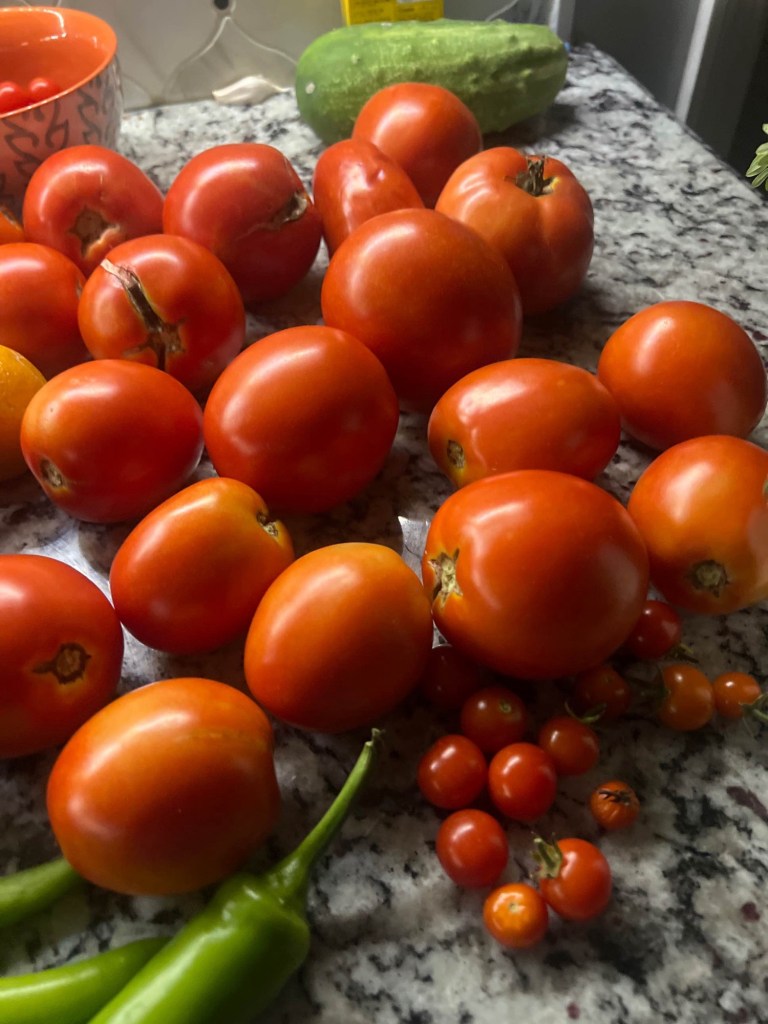
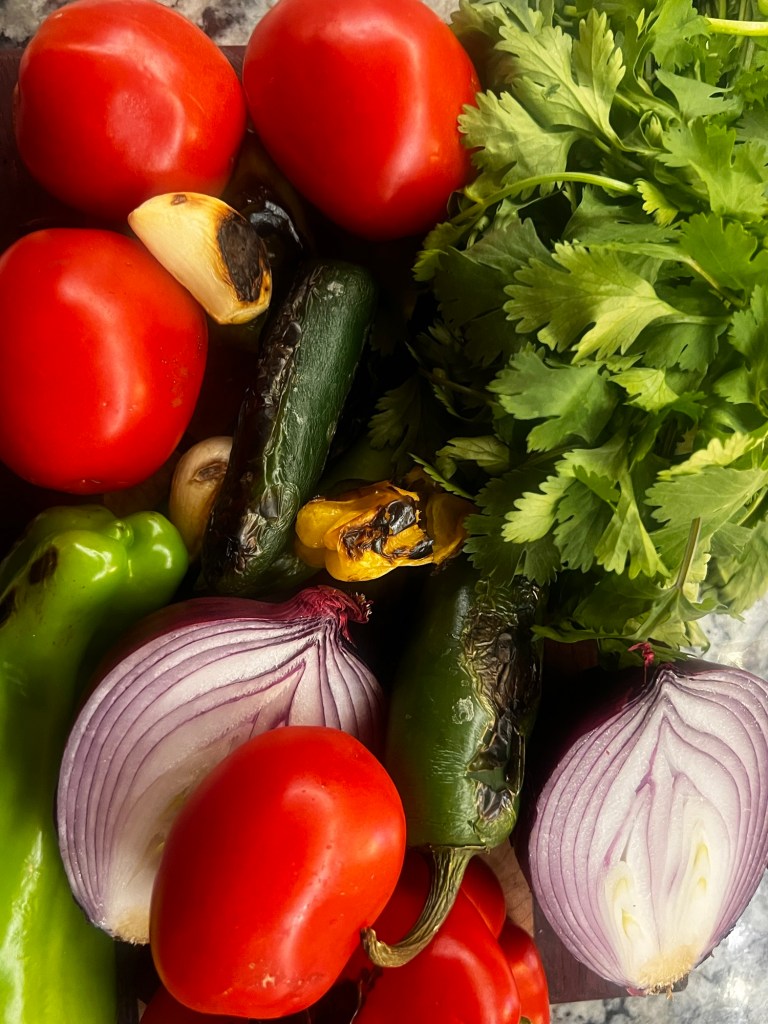
Some blessings are unexpected and that’s how I believe I fell into this recipe. It’s not unheard of that towards the end of the summer some people have more abundance in their garden than they know what to do with. My mother decided to bless me with her garden abundance in addition to mine because she was due for a vacation and didn’t want to come home to a basket of tomatoes rotting on her counter.
I took this opportunity as a personal challenge to let nothing go to waste and apply my new recently learned skill, canning.
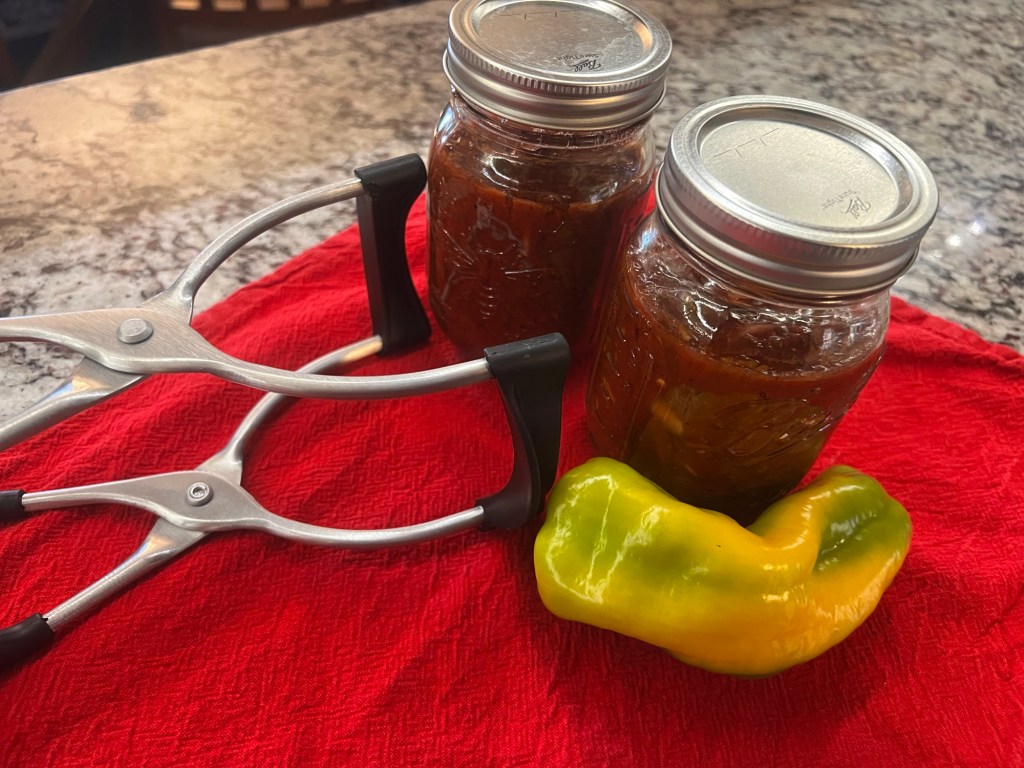
I shared my salsa with my coworkers and they kept bugging me for more… unfortunately I couldn’t remember what I did and had to look up the actual peppers I had used…
My second batch was an even bigger success and I am more than happy to share it with the world now!
The colors in this thing pop!
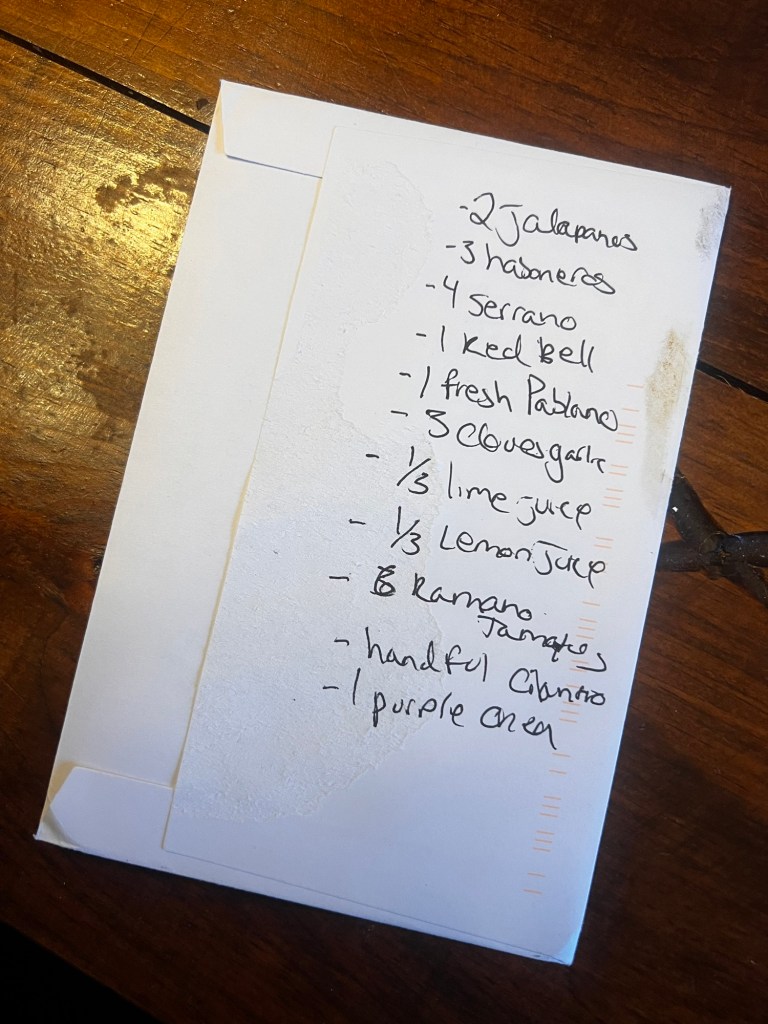
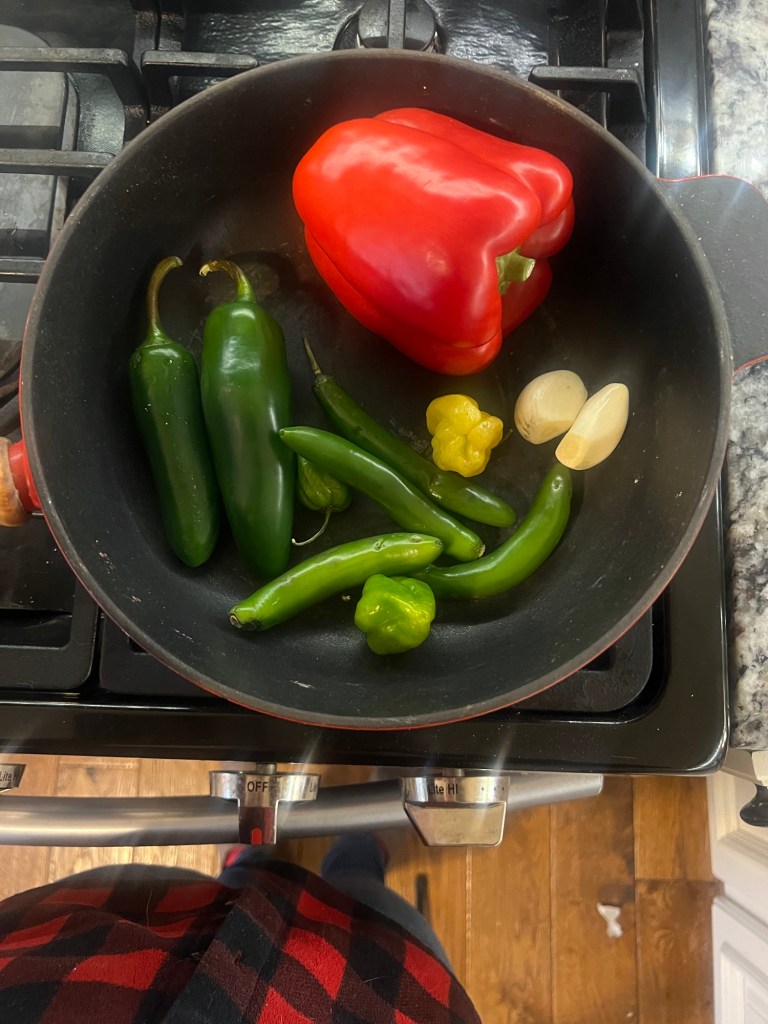
Adobo Salsa Recipe
Ingredients
2 jalapeño peppers
3 habanero peppers
4 Serrano peppers
1 Poblano pepper
1 can La Costena chipotles peppers in Adobo Sauce
3 cloves garlic
1 medium sized purple onion (chopped)
1/3 cup lime juice
1/3 cup lemon juice
6 Romano Tomatoes quartered ( probably any tomatoes would be fine)
1 bunch of cilantro chopped (including stems)
1 can fire roasted diced tomatoes (garlic)
Salt
Pepper
Directions
Place all peppers and garlic in dry frying pan at high heat to blacken. (This may take a few minutes and be done in batches due to the number of peppers used at high heat.
Once blackened remove stems and seeds from peppers and quarter. Place in food processor. Add lemon juice. Blend until smooth.
Add tomatoes, half onion, can of adobo peppers and lime juice to puree and blend until smooth.
Remove from processor and stir in remaining onions, cilantro and can of smoked tomatoes.
Salt and pepper to taste.
Let me know how you enjoyed it in the comments below!